
Adding TailwindCSS to Bit

When using Bit we are working with Components in isolation. The consuming app is what would normally have TailwindCSS installed and therefore just adding the classes to the component will work when consuming the component in an app that has Tailwind installed. However when working with Bit we work in isolation meaning we build a component separate to the app. The component is like a mini app and therefore we can see what it looks like with the Bit dev server.
We can then build our component, build different compositions of what our component would look like with different states for example. We can also write tests for our component as well as documentation to make it easier for others to consume our components. Our components can then be easily installed and used in any of our apps or in other components.
In order to add tailwind to a component we need to apply an environment to the component. By doing this we can ensure not just one but all components that have this environment applied can have the save things applied such as linting, framework and in our case tailwind.
When building a new project with the bit new command an env component will be provided for you that you can then modify to how you like.
Adding Tailwind to your Env
In our custom env component add a tailwind folder with a styles.css file and add in the following
@tailwind base;
@tailwind components;
@tailwind utilities;
Then add a tailwind.config.js file
module.exports = {
  theme: {
    extend: {}
  },
  variants: {
    extend: {}
  },
  plugins: []
}
Next we need to install the TailwindCSS webpack transformer component from Bit and once installed we can then add it to our custom env component.
bit install @bit-foundations/styling.tailwind.webpack-transformer
In your environment component add the following to the main.runtime.ts file
import { UseTailwindTransformer } from '@bit-foundations/styling.tailwind.webpack-transformer'
Then inside the provider add the following code
static async provider([react, envs]: [ReactMain, EnvsMain]) {
const {
      previewConfigTransformer: twPreviewTransformer,
      devServerConfigTransformer: twDevServerTransformer
    } = UseTailwindTransformer(tailwindConfigPath);
...
}
Inside your envs.compose where you override files for TypScript, webpack, Jest etc add in the following code to webpack so you can use the TailwindPreview and DevServer Transformers
const MyEnvEnv = envs.compose(react.reactEnv, [

      react.useWebpack({
        previewConfig: [twPreviewTransformer],
        devServerConfig: [twDevServerTransformer]
      }),
Next in the preview.runtime.ts file of your custom env import the css file we created earlier.
import './tailwind/styles.css'
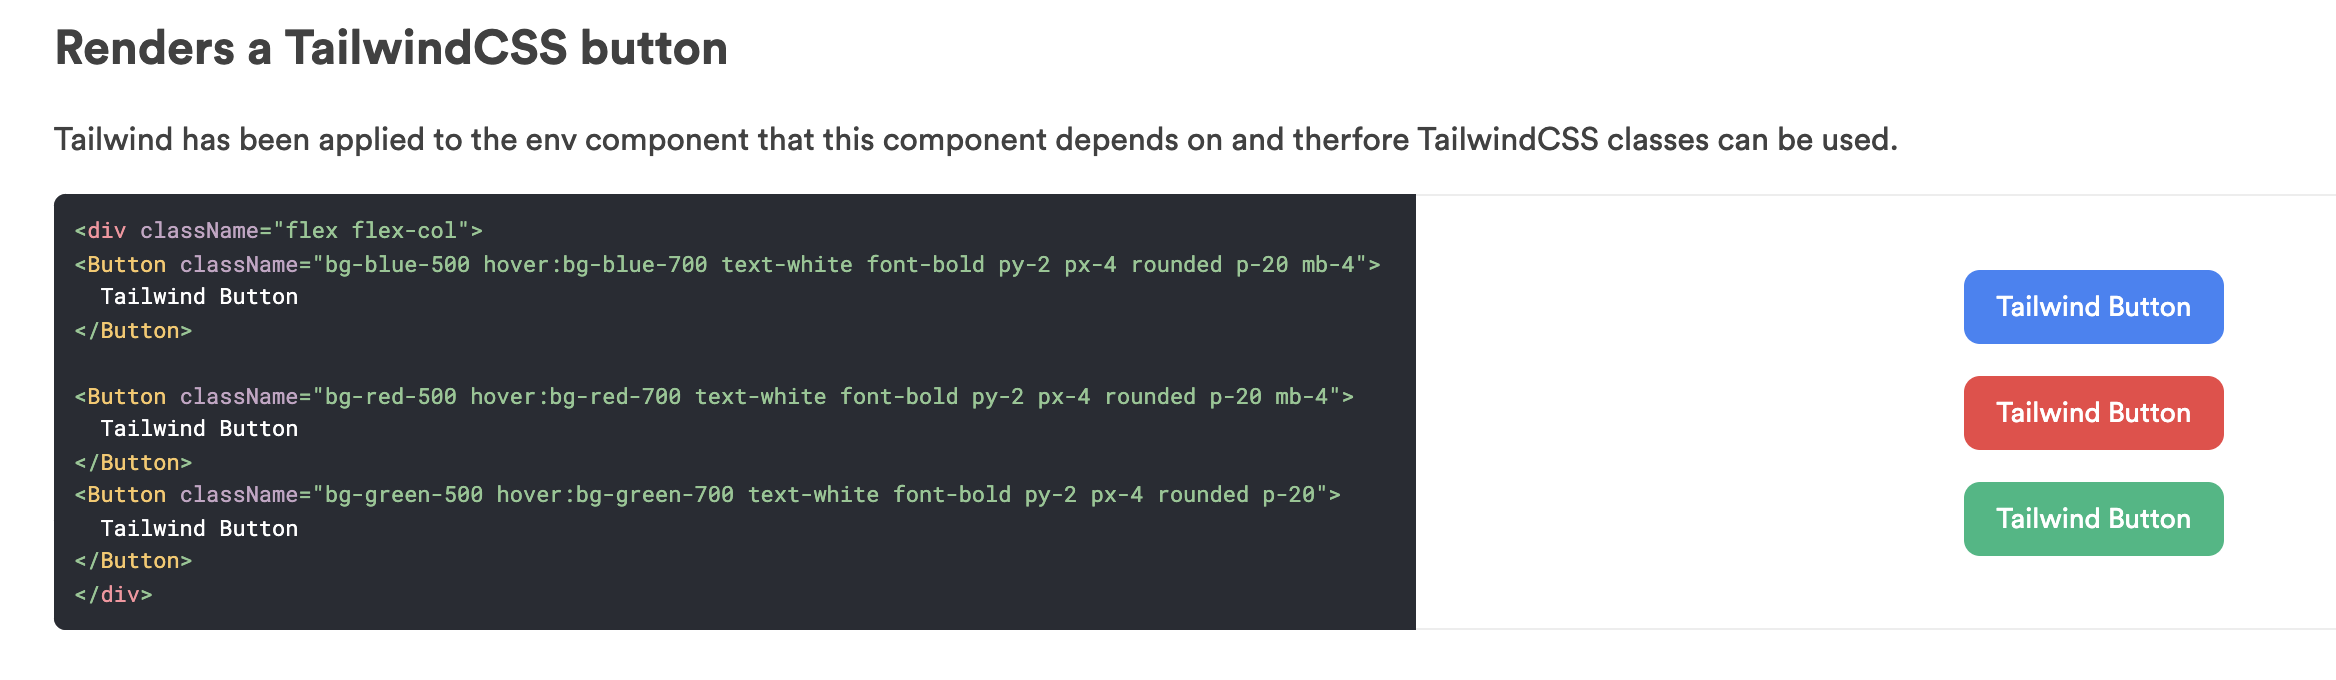
And that's it. You can now use Tailwind classes in your component and see them in your component compositions.
Note: Make sure postcss has been installed and is in your workspace.json. If not just install it with bit.
bit install postcss
Note that this only works for Tailwind version 2. Due to the JIT compile used in Tailwind 3 more work needs to be done to be able to get this working in Bit so for now only Tailwind version 2 is supported.
Useful links: