
Testing a Button Component
Tests are really important when building shareable components. If someone can't trust your component then they probably won't use it. I have been working on a demo e-commerce project built in React and have spoken about it at many conferences and all the time I keep saying:
You should write tests. Tests are important.
It should be part of the development flow. As you build your components you build your tests. However I am going to be really honest and tell you that I have not been doing this at all. Why? Because like all of you, time. Testing takes time and the demo can be created without tests and no-one will really notice. Not good. I know. But really the honest answer is that I don't really know how to test or what to test. So 2022, it's time to dive deeper into tests and practice what I preach.
Testing Library
I am building the demo project as React components in Bit and we have support for Testing Library which is a fantastic open source library and I really enjoy working with it. I am by no means an expert, but I am going to share with you some of the things I have learnt so far perhaps it might even help you.
Make sure you already have testing library installed.
npm install --save-dev @testing-library/react
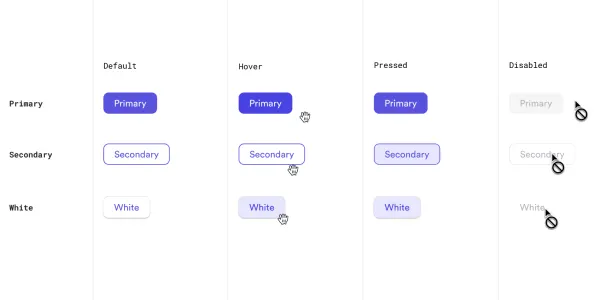
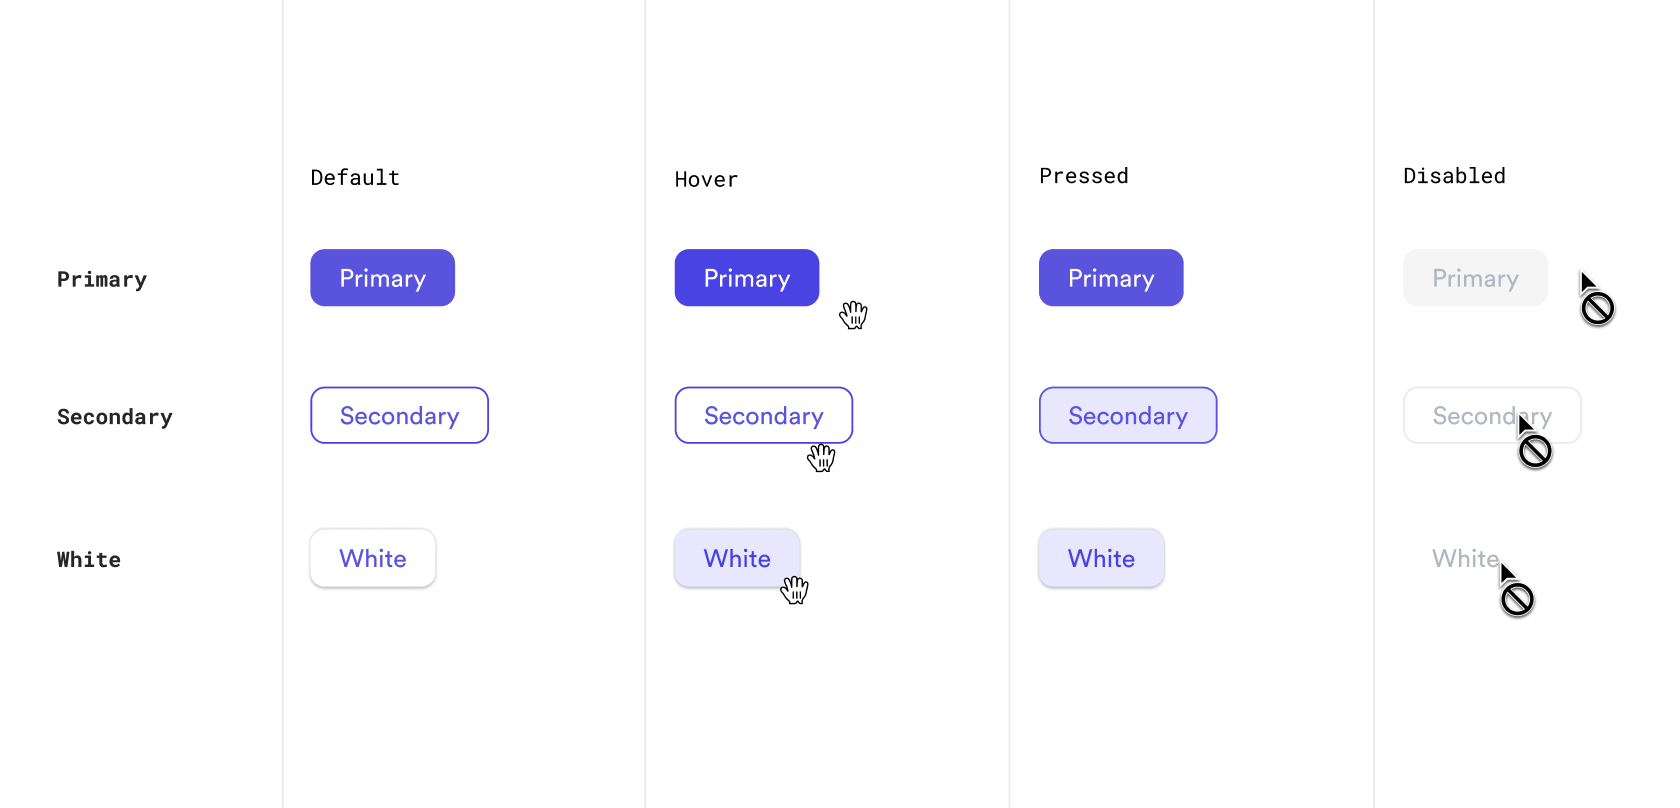
Testing different Button Compositions
I have created a load of different compositions for my button which I will need to test. Compositions allow me to see the button in different states such as primary, secondary, disabled etc.
Importing React, Testing Library and Compositions
In the button.spec.tsx file we will import the React library and the Testing Library as well as the button compositions that we want to test.
import React from 'react'
import { render, screen } from '@testing-library/react'
import {
  ButtonAsLink,
  PrimaryButton,
  PrimaryButtonDisabled,
  SecondaryButton,
  SecondaryButtonDisabled,
  WhiteButton,
  WhiteButtonDisabled
} from './button.composition'
Creating todo tests
We can then start creating our tests. We can first create a list of todos for our tests so we are clear on what we need to test and so we don't forget anything. What we want is to test the button in all it's different states including disabled and if the button is used as a Link.
it.todo('should render a button with the class of primary')
it.todo('should render a disabled button with the class of primary')
it.todo('should render a button with the class of secondary')
it.todo('should render a disabled button with the class of secondary')
it.todo('should render a disabled button with the class of white')
it.todo('should render a disabled button with the class of secondary')
it.todo(
  'should render a button as a Link, checks for href attribute and primary class'
)
Note: I am using 'it' instead of 'test' but I believe it is just a matter of preference so choose which you like best.
Rendering the button
We can remove the todo from the first test and render the primary button by adding an arrow function after the test description.
it('should render a button with the class of primary', () => {
  render(<PrimaryButton />)
})
Using Roles to find our button
We then use the screen method followed by the getByRole function passing in the role of blah. We do this because we want to see what roles are available to us. It won't find a role of blah but it will tell us the role of button is available. This was an obvious one but sometimes you might not know what role is available to you so doing this can really help.
it('should render a button with the class of primary', () => {
  render(<PrimaryButton />)
  const primaryButton = screen.getByRole('blah')
})
Let's change our role of blah to button. The second argument we pass in is the text that we want to test for. By passing it in as a regex instead of a string we add the i after the word we want to test for and then we don't have to worry about capital letters.
it('should render a button with the class of primary', () => {
  render(<PrimaryButton />)
  const primaryButton = screen.getByRole('button', { name: /primary/i })
})
Expect our button to have a class of primary
We then expect our button to have a class of primary. We can do this by using the expect function and passing in the button we want to test and then the class we want to test for using the toHaveClass function.
it('should render a button with the class of primary', () => {
  render(<PrimaryButton />)
  const primaryButton = screen.getByRole('button', { name: /primary/i })
  expect(primaryButton).toHaveClass('primary')
})
Check your tests also fail
We now should have a green check mark next to our test. But of course we should also make sure our test fails if we pass in the class of secondary for example.
If using Bit like I am you can see the tests direct in the UI or by running the command:
bit test componentId --watch
From there we can go on and test the rest of our button compositions.
Testing Disabled Buttons
To test that a button is disabled we can use the toBeDisabled function.
it('should render a disabled button with the class of primary', () => {
  render(<PrimaryButtonDisabled />)
  const primaryButtonDisabled = screen.getByRole('button', {
    name: /primary/i
  })
  expect(primaryButtonDisabled).toHaveClass('primary')
  expect(primaryButtonDisabled).toBeDisabled()
})
Testing Button as a Link
Our button component can take the prop of link which will render the button as a Link in other words as an <a> element. We can test this by checking to see if it has the role of link as well as if it has the href attribute as a link with no href won't really do much.
it('should render a button as a Link, checks for href attribute and primary class', () => {
  render(<ButtonAsLink />)
  const buttonAsLink = screen.getByRole('link', { name: /link/i })
  expect(buttonAsLink).toHaveClass('primary')
  expect(buttonAsLink).toHaveAttribute('href', '/')
})
And there we have it. All our tests are passing and we can safely use our component in other components knowing that it will work the way it should and if anyone changes anything the tests will fail. Although testing takes time it can save you so much time later on. The more we write tests the more comfortable we feel and the better we get at it and if we can make it part of our building process then things become so much easier. But at first take it step by step and just start small like I did.
Useful Links: